How Is a Waterproofing Membrane Installed? A Licensed Tradesperson's Process

In NSW, waterproofing membrane installation is licensed trade work governed by AS 3740. How well the finished membrane performs comes down to six steps done in the right order — each one affects the integrity of everything that follows.
- Substrate preparation — Remove laitance, fill cracks, confirm moisture levels, and apply the right primer for the substrate type
- Corner and junction detailing — Apply reinforcing fabric tape embedded in wet membrane at all internal corners, floor-to-wall junctions, and transitions between dissimilar substrates
- Penetration sealing — Install membrane collars or boots around all pipe penetrations and drain flanges before any field coat goes on
- First membrane coat — Apply to the minimum specified thickness using brush or roller; embed reinforcing tape at all junctions while the coat is still wet
- Second membrane coat — Apply perpendicular to the first coat once touch-dry, achieving the total minimum dry film thickness required by AS 3740
- Inspection and flood test — Check for pinholes and missed coverage, then flood test the waterproofed area before tiling starts
Licensed waterproofers in Wollongong are required to install membrane to AS 3740 and provide compliance documentation on completion.

The Membrane Is the One Layer You Can Never Go Back To
Once the tiles go down, the membrane is gone — physically inaccessible without a full demolition. Every other decision in a bathroom renovation can be revisited. Tapware gets replaced, vanities get swapped, tiles can be re-done. The membrane can’t.
When a membrane fails, water doesn’t announce itself straight away. It tracks silently through subfloors, into framing timbers, and across into adjoining rooms — sometimes for months before anything visible appears. By the time a stain shows up on a ceiling, the damage behind the walls is already significant.
In Wollongong’s older fibro and brick homes in suburbs like Corrimal and Fairy Meadow, subfloor damage from a failed membrane compounds fast. The materials are older, the framing sits closer to the ground, and moisture moves through quickly.
Every other decision in your wet area renovation sits above the membrane. It’s the foundation everything else depends on.

Membrane Types and When Each One Is Specified
Not every membrane suits every project. The right choice depends on the substrate, the environment, and what the wet area needs to do.
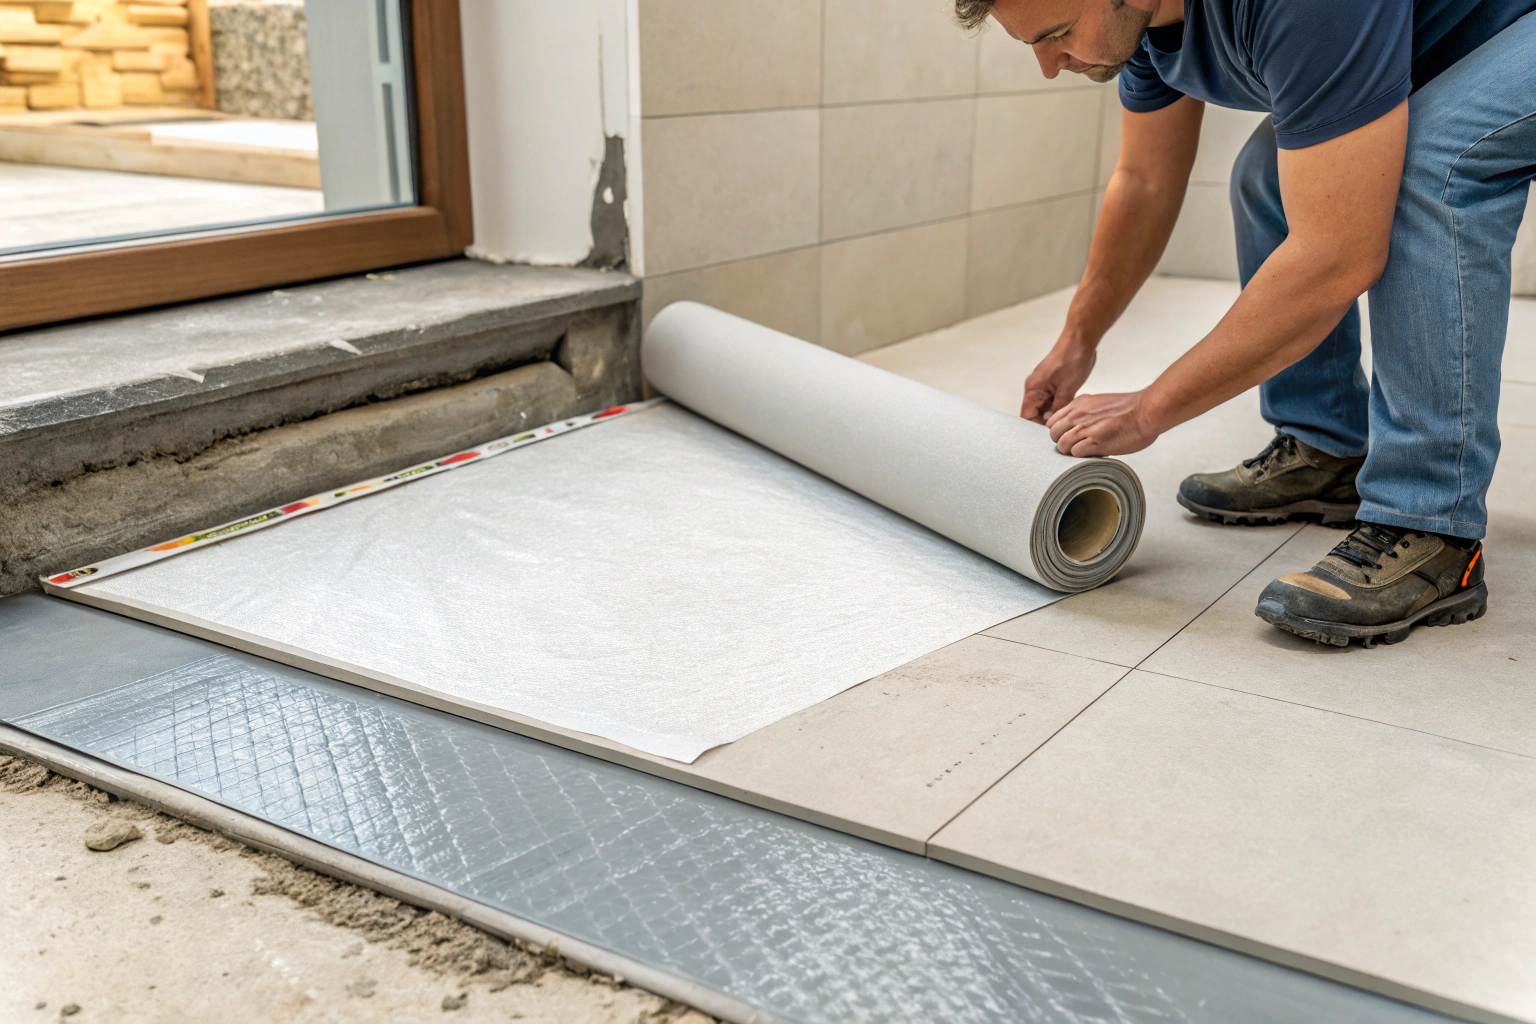
Substrate Preparation: Why the Surface Determines the Outcome
The performance of any membrane comes down to the condition of the surface beneath it. No membrane product compensates for poor preparation — the substrate type dictates the preparation sequence we follow before a single coat goes on.
Concrete Substrates: Surface laitance removed before priming. Cracks assessed and treated — those beyond threshold width get flexible filler or reinforcing tape. Moisture testing carried out where vapour transmission could exceed product limits.
Compressed Fibre Cement: Sheet joins treated, fastener heads countersunk and filled flush, then primed with compatible primer before membrane. Skipping priming is one of the most common failure points on fibro substrate renovations in older Wollongong homes.
Plasterboard and Moisture-Resistant Board: We confirm moisture-resistant specification before membrane goes on — standard plasterboard is not an acceptable substrate. All joins and fastener heads filled and primed to reduce porosity and improve membrane adhesion.
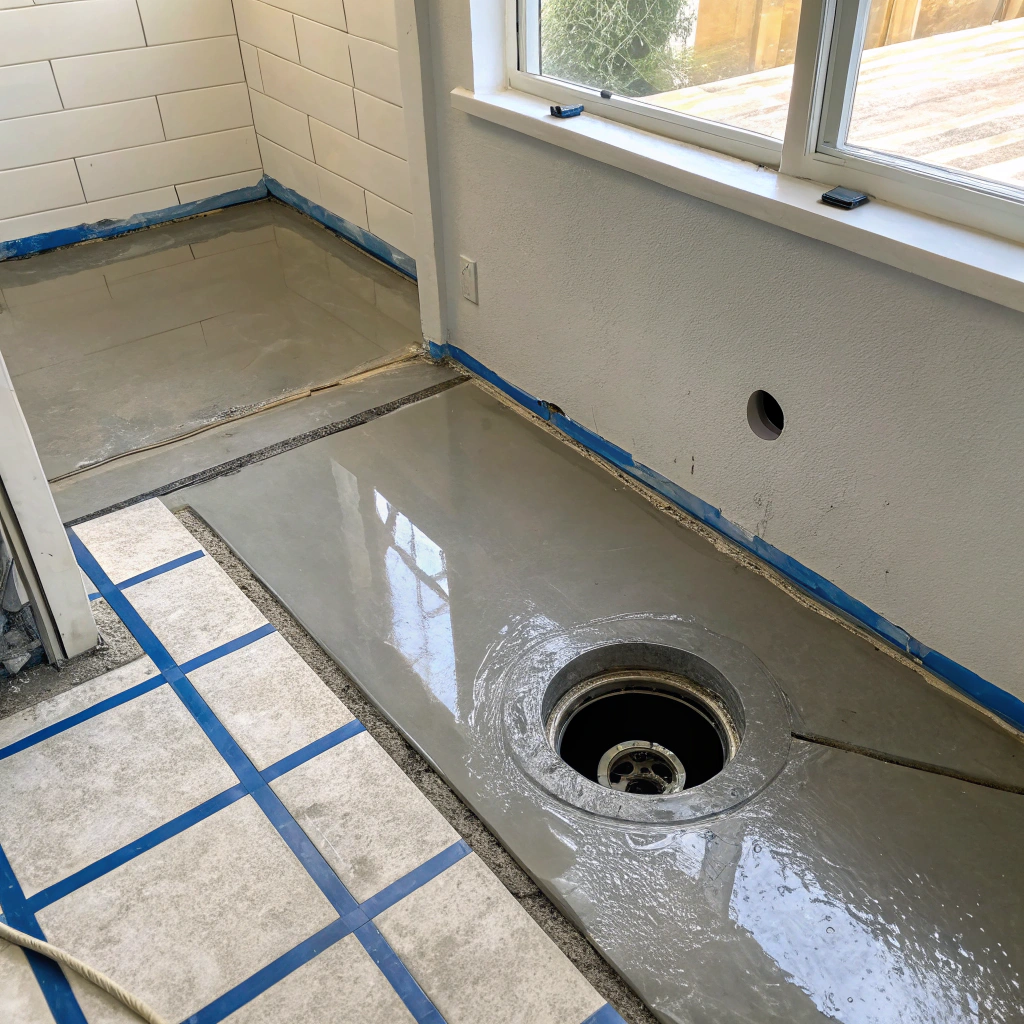
What Correct Penetration Detailing Actually Involves
Every penetration through the waterproofed surface is a potential bypass point — where water can track behind the membrane if the detailing is incomplete. This is where membrane installations most commonly fail on inspection.
- Floor waste outlets — Membrane collar or boot installed around the flange before field coat; additional membrane reinforcement applied over the collar
- Pipe penetrations — Approved pipe flange or compression seal installed; membrane applied over and around the seal before field coat
- Mixer rough-ins — All wall penetrations for mixer bodies sealed with compatible sealant before the final membrane coat
- Shelf and fixture fixings — Any fixing that penetrates the membrane plane sealed with compatible sealant prior to final coat
- Transitions between dissimilar substrates — Reinforcing fabric tape embedded at all junctions where substrate type changes
Getting penetration detailing right is where licensed tradesperson experience is most directly demonstrated — and where unlicensed work most visibly falls short.
Liquid Applied vs Sheet Membrane: Which System Suits Your Project
Two primary membrane systems are specified for wet area work in Wollongong. The right choice depends on substrate, environment, and project type.
| Liquid Applied Membrane | Sheet Membrane | |
|---|---|---|
| Application method | Brush or roller, minimum two coats | Bonded to substrate with compatible adhesive |
| Thickness consistency | Operator-dependent | Factory-controlled |
| Substrate suitability | Most domestic substrates | New build and even substrates |
| Flexibility | High — accommodates minor movement | Moderate |
| Common project types | Bathrooms, ensuites, laundries | New builds, commercial wet areas |
| AS 3740 compliance | Yes, when applied to specification | Yes, when bonded correctly |
| Typical Wollongong applications | Residential renovations across Illawarra | New construction and commercial projects |
Where project conditions are unclear, a site assessment determines the correct specification. Defaulting to one system regardless of substrate is a common cause of premature membrane failure.
Flood Testing and Membrane Sign-Off Before Tiling Commences
Flood testing is not optional and it doesn’t get skipped under schedule pressure. It’s the only way to confirm the membrane is intact before it’s permanently buried under tiles.
We start with a visual inspection — checking for pinholes, missed coverage at junctions, insufficient membrane at penetrations, and incomplete fabric reinforcement. Once that passes, the floor waste is temporarily blocked, the waterproofed area is filled to minimum depth, the water level is marked, and it’s monitored over a minimum 24-hour period.
A passing flood test confirms the membrane is watertight. From that point, tiling can commence.
We provide written compliance documentation on completion — product used, dry film thickness achieved, and flood test result. This is available for building certification and insurance purposes if it’s ever needed.
Flood testing protects you from a concealed membrane defect. It also protects us from a liability claim on work that was never verified before tiling proceeded.
Where Wollongong Membrane Installations Most Commonly Fail
Membrane failures in Wollongong follow predictable patterns tied to local housing stock, coastal environment, and substrate age.
Aging Fibro Substrates in Corrimal and Fairy Meadow
Fibro homes from the 1950s–1970s present inconsistent surfaces. Original fibre cement can be friable or poorly fixed. Membrane applied to an unprimed fibro substrate debonds under thermal cycling — preparation here is more intensive than new build and gets scoped before we quote.
Coastal Moisture Exposure in Thirroul and Shellharbour
Elevated humidity and salt air accelerate degradation where product selection doesn’t account for coastal exposure. Reinforcing fabric at floor-to-wall junctions is non-negotiable — not all liquid membrane systems are rated for high-humidity coastal conditions.
Below-Ground Moisture in Dapto and Southern Illawarra
Vapour transmission risk is elevated in below-ground and slab-on-ground construction. Moisture testing before membrane specification is the step most commonly skipped — and the most common cause of premature failure across the southern Illawarra
Frequently Asked Questions
Yes. In NSW, waterproofing is licensed trade work. We’re licensed waterproofers and provide compliance documentation on every job.
AS 3740 is the Australian Standard that governs waterproofing of domestic wet areas. It sets the minimum requirements for membrane type, thickness, and application method. Every installation we do is completed to this standard.
It depends on the product and conditions, but typically 24–48 hours minimum between coats and before tiling commences. We never rush cure time — it directly affects membrane performance.
A flood test temporarily blocks the floor waste, fills the waterproofed area with water, and monitors it over a minimum 24-hour period to confirm the membrane is intact. Yes, we carry one out on every job before tiling starts.
A liquid applied membrane is brushed or rolled on in two coats and cures to a seamless flexible layer. A sheet membrane is factory-manufactured and bonded to the substrate. The right choice depends on your substrate, environment, and project type — we assess this on-site before specifying.
In most cases, no. Membrane needs to be applied directly to a correctly prepared substrate. Existing tiles are typically removed before any waterproofing work begins.
Common signs include water stains on ceilings or walls adjacent to wet areas, soft or springy flooring, persistent mould that keeps returning despite cleaning, and grout or tiles that are lifting. If you’re seeing any of these, we’d recommend a site assessment.
Get a Free Waterproofing Membrane Quote
The membrane is the one decision in your wet area renovation you can’t revisit once tiling starts. Getting the specification right — and having it installed correctly to AS 3740 — is what separates a bathroom that stays watertight for twenty years from one that doesn’t.
We offer free on-site assessments covering substrate condition, correct membrane specification, and a written installation quote. No obligation.
Call us: 0240036408
Here’s how it works:
- Contact us for a free on-site assessment
- Receive your membrane specification and written quote
- Licensed installation to AS 3740 with flood test sign-off on completion