Substrate Assessment — The Phase That Decides Everything

Every floor tile installation starts below the surface, not on top of it. Before any tile is laid, the substrate gets checked properly, because this single phase decides whether the finished floor lasts decades or starts failing within months.
What we check before tiling begins:
• Structural soundness — confirming the floor is solid and free of movement, with no flex or bounce that would crack tiles once they’re bonded down
• Flatness — identifying high and low spots across the floor that need grinding back or building up with levelling compound before tiling can start
• Moisture in concrete slabs — testing for residual or rising moisture that needs treatment first, since trapped moisture under adhesive is one of the most common causes of tile failure
• Substrate type — confirming whether the floor is concrete, compressed fibre cement sheeting, or a timber subfloor, because each one calls for a different adhesive system and installation method
A floor can look flat and feel solid underfoot and still have enough variation hiding beneath the surface to telegraph through the tiles later. That’s why this assessment happens on every job, not just the ones that look obviously uneven. Skipping it, or rushing it, is how floors end up with cracked tiles, drummy sections, or lifting along the edges well before their time. Getting it right here means everything that follows goes smoothly.

Floor Levelling — A Standard Part of the Process, Not an Optional Extra
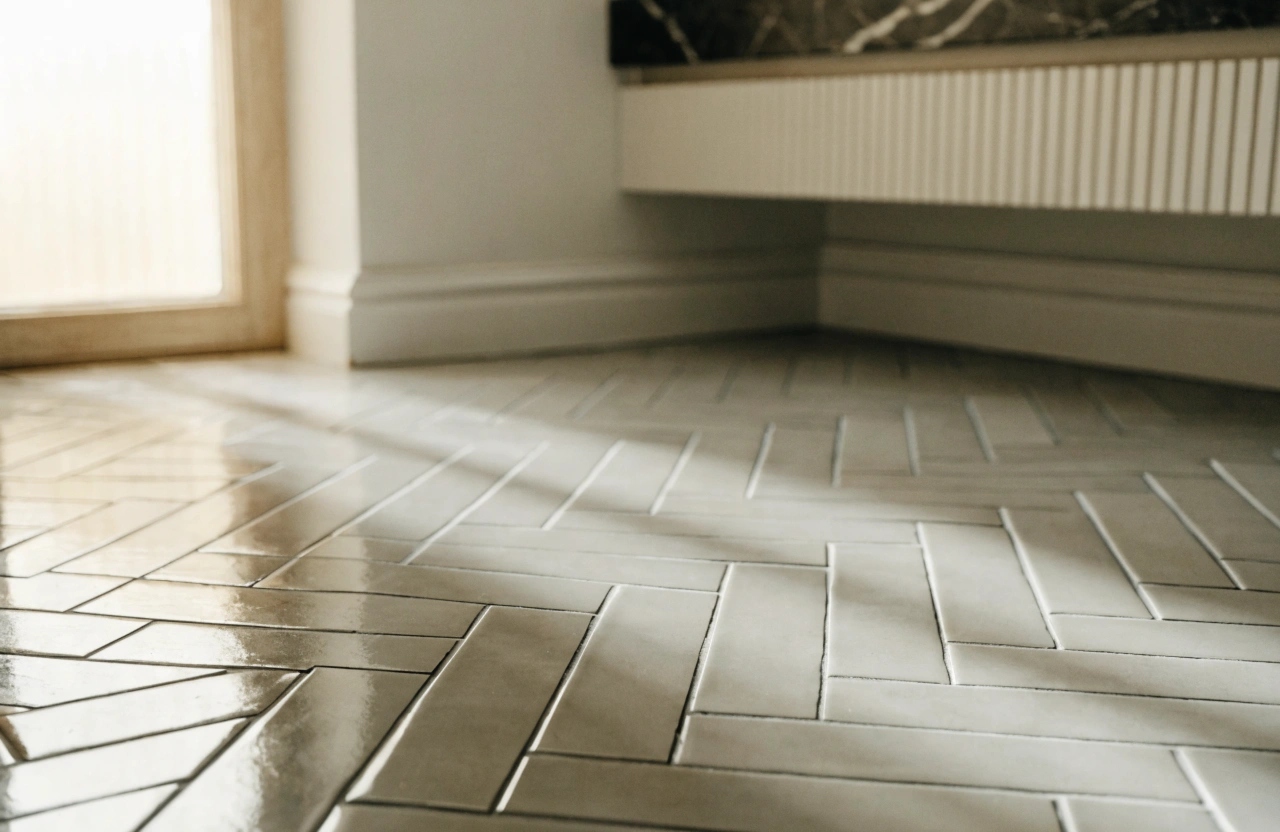
Large format tiles are unforgiving. A 600 by 600 or 800 by 800 tile will telegraph every undulation in a substrate that might have passed for smaller tiles without issue. The bigger the tile, the less room there is for error underneath it.
Floor levelling addresses that before tiling starts, using a mix of methods depending on what the substrate needs:
| Method | When It’s Used |
| Self-levelling compound | Poured across the floor to fill low spots and create a flat, even base, particularly before large format tiles |
| Grinding | Used on high spots in concrete slabs to bring them back into tolerance |
| Flatness checks against AS 3958 | Measured across the floor to confirm the substrate meets the tolerances required before adhesive goes down |
AS 3958 sets the flatness tolerances that floor tile installation in Australia needs to meet, and that standard guides every levelling decision on the job, not a rough eyeball check. Floor levelling isn’t something we suggest as an upgrade or charge as an add-on once a problem shows up halfway through, it’s built into the installation process from the start because it has to be.
A level substrate is what allows the rest of the installation, the layout, the adhesive bed, the grout lines, to come together evenly across the whole room. Skip this step and even the best tile on the market won’t sit right.
Choosing the Right Floor Tile for the Room
The right floor tile depends on where it’s going and how the space gets used day to day. A few decisions shape that choice:
Tile format and room size
Larger formats suit open living areas and create a clean, expansive look with fewer grout lines, but they demand the substrate preparation already covered above. Smaller formats remain a practical choice in tighter spaces like laundries or where the substrate has limitations that rule out large format tiling.
Surface finish and slip rating
Wet area floors, bathrooms, laundries, and shower bases, need a surface finish that meets the slip rating requirements under AS 4586. A tile that looks beautiful but lacks the right traction underfoot becomes a hazard the moment it gets wet.
Porcelain, ceramic, or natural stone
Each behaves differently underfoot and in different environments. Porcelain is dense and low-absorption, suited to high-traffic areas and wet zones. Ceramic is a softer, more affordable option for lower-traffic rooms. Natural stone brings a distinct look but needs sealing and ongoing care that porcelain and ceramic don’t require.
Grout joint width and colour
Joint width affects both the visual line of the floor and how forgiving the layout is around cuts and penetrations, while colour choice can either highlight or recede the grout lines depending on the look wanted.
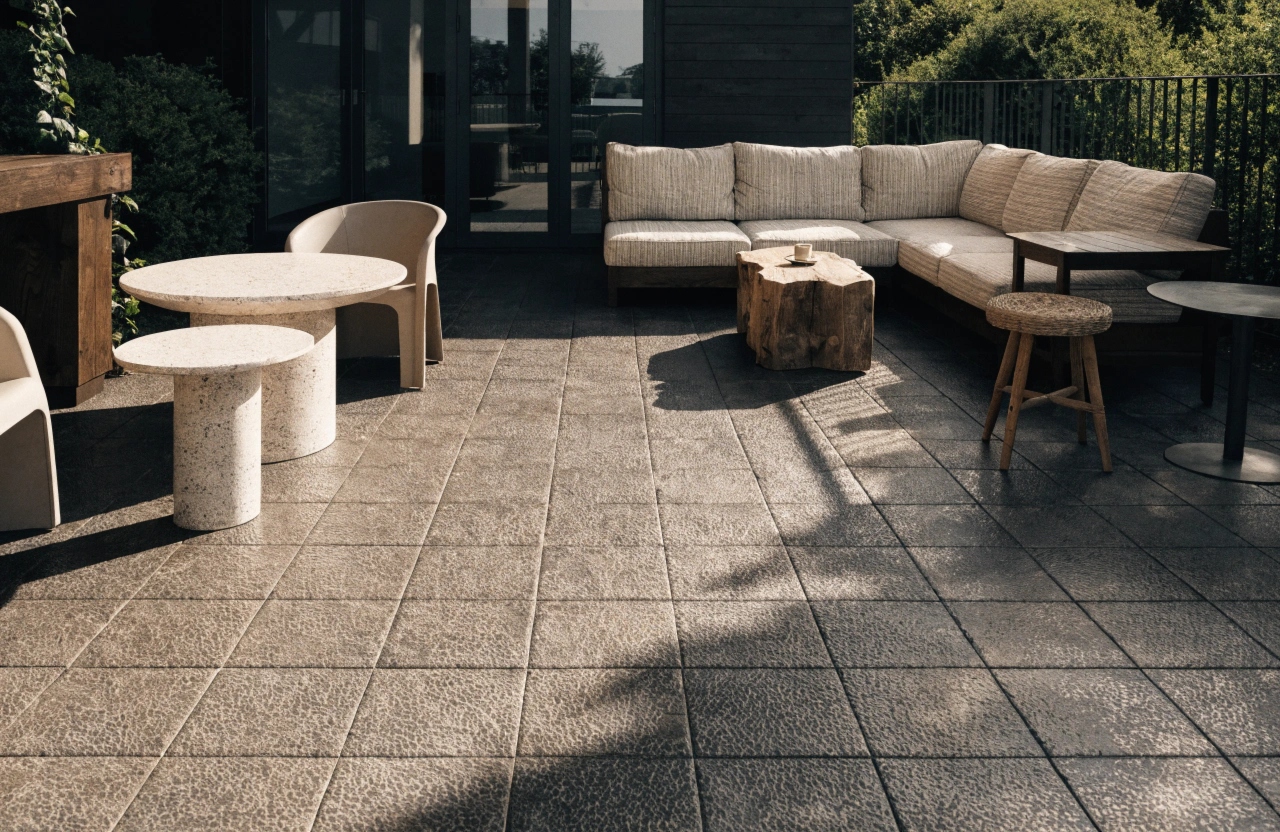
Outdoor and alfresco floors
Outdoor tiling carries its own requirements, frost resistance, drainage falls, and a higher slip rating, that differ from internal floors and need to be factored in from the design stage.
The Installation Process
A floor tile installation follows a defined sequence, and each phase sets up the one after it. Skipping ahead or rushing any stage is where problems start.
Layout planning comes first. Before any adhesive goes down, the layout gets planned to achieve balanced cuts at room perimeters and doorways, avoiding awkward slivers of tile at the edges that throw the whole room off visually.
Adhesive selection follows, matched to the specific tile format and substrate type confirmed during the assessment phase. The wrong adhesive for the job is one of the most common causes of tile failure further down the track.
Levelling clip systems get used on large format tiles to pull adjoining tiles into the same plane and achieve a lippage-free finish, where one tile doesn’t sit a fraction higher than its neighbour underfoot.
Consistent joint widths are maintained across the floor using spacers, so grout lines run true in both directions rather than drifting wider or narrower as the job progresses.
Cutting around floor penetrations, pipes, drains, door frames, and room perimeters is done with precision rather than rough approximation, since a poor cut at a visible edge stands out immediately.
Grouting and sealing finish the job once tiles are set and cured, locking in the joints and protecting porous tiles or natural stone from staining and moisture.
Walking through each phase like this is what separates methodical tiling work from a rushed job that looks fine on day one and starts showing problems within the year.
Wet Area Floor Tiling — Bathrooms, Laundries and Shower Floors
Wet area floors carry an extra layer of requirement that dry areas don’t. Bathrooms, laundries, and shower floors all sit above a waterproofing membrane, and the tiling has to integrate with that membrane correctly rather than simply sit on top of it.
Tiling over a waterproofed floor means working to falls that direct water toward drains and floor wastes, without creating low spots where water pools instead of draining away. The adhesive bed and tiling method both need to respect the membrane underneath rather than compromise it with penetrations or pressure points that weren’t accounted for in the waterproofing design.
Shower floors carry the tightest tolerances of any wet area, since the fall to the drain needs to be consistent across the whole floor and the slip rating needs to hold up to constant water exposure. Laundry floors and bathroom floors outside the shower zone still need correct falls and waterproofing integration, even though the exposure to water is less constant.
This is where floor tile installation and waterproofing work together rather than as two separate trades bolted together. For more detail on the membrane side of this process, our waterproofing pages cover what happens beneath the tile in full.
Why Wollongong and Illawarra Homeowners Choose Us
A floor tile installation is only as good as the standards behind it. A few things shape how we approach every job:
• Experience across substrate types and tile formats — concrete slabs, compressed fibre cement, and timber subfloors, paired with everything from small format tiles through to large format porcelain, across Wollongong and Illawarra homes
• AS 3958 and AS 4586 compliance — flatness tolerances and slip ratings aren’t treated as guidelines, they’re the standard every floor gets measured against
• Quality adhesives and levelling systems — matched to the substrate and tile format rather than a one-size-fits-all approach that cuts corners on materials
• Precise finishing at all edges and perimeters — clean cuts around doorways, penetrations, and skirting lines rather than rough gaps filled with extra grout
• A clean worksite on completion — offcuts, packaging, and dust cleared away once the job is done, leaving the room ready to use
These aren’t add-ons or upsells, they’re the baseline every floor tile installation is built on. The difference between a floor that lasts decades and one that needs redoing in a few years comes down to whether these standards were followed from the first day of the job, not just promised at the quote stage.
Floor Tile Installation FAQs
Timeframes depend on room size, substrate condition, and tile format. A bathroom or laundry floor typically takes a few days from substrate preparation through to grouting, while larger living areas with more complex layouts or levelling work take longer to complete properly.
No, though access to the room being tiled is restricted while adhesive and grout cure. Bathrooms and laundries are usually back in use within a few days once everything has set, with the rest of the home unaffected throughout the job.
Only once the substrate meets the flatness tolerances required under AS 3958. Older or uneven floors common across Illawarra homes often need grinding or self-levelling compound first, since large format tiles will telegraph any variation that smaller tiles would otherwise hide.
Porcelain is denser and lower-absorption, suited to wet areas, outdoor spaces, and high-traffic rooms where durability matters most. Ceramic is softer and more affordable, a practical choice for lower-traffic spaces like guest bathrooms or laundries where the floor sees less daily wear.
Yes, outdoor and alfresco floors need frost resistance, correct drainage falls directing water away from the home, and a higher slip rating than internal floors require, since exposure to weather and constant moisture changes how a tile needs to perform underfoot.
Tiling integrates with the waterproofing membrane rather than replacing it. Waterproofing itself is covered as part of the wet area process, with correct falls and drainage built into the membrane design before any tile adhesive goes down over the top.
Tiling over an unlevel substrate risks cracked tiles, drummy sections, and lippage between tiles within months. That’s why floor levelling, using grinding or self-levelling compound, happens before tiling begins on every job rather than being treated as an optional extra.
Sometimes, depending on the condition and flatness of the existing tiled surface, but it isn’t always the right approach. Removing the old tiles and assessing the substrate underneath often gives a more reliable result, particularly where large format tiles are planned.
Get a Free Floor Tile Installation Quote
A floor that’s properly assessed, levelled, and installed to standard is one of the few home improvements that genuinely lasts. It doesn’t need redoing in a few years, it doesn’t develop cracks or lifting tiles, and it carries the daily traffic of a busy household without complaint.
We tile floors across Wollongong and the Illawarra, from Fairy Meadow through to Dapto, Corrimal, Unanderra, and Warrawong, working to AS 3958 and AS 4586 standards on every substrate type and tile format. Whether it’s a single bathroom floor, a full kitchen and living area, or an outdoor alfresco space, the same approach applies: get the substrate right first, then build everything else on top of it.
Ready to get started?
• Request a free measure and quote for your floor tile installation
• Speak with our team about substrate assessment and tile options suited to your space
• Get a clear timeframe before work begins, with no surprises once the job is underway
Floor tile installation done properly is an investment in the comfort, safety, and appearance of any room in the home, one that pays off every single day the floor is walked on. Get in touch for your free quote today.