How do you find the source of water damage in a bathroom?

Finding the source of bathroom water damage isn’t as simple as looking at where the stain is. Water travels through a structure, so the damage you can see is rarely where the leak actually started.
Here’s the process we follow:
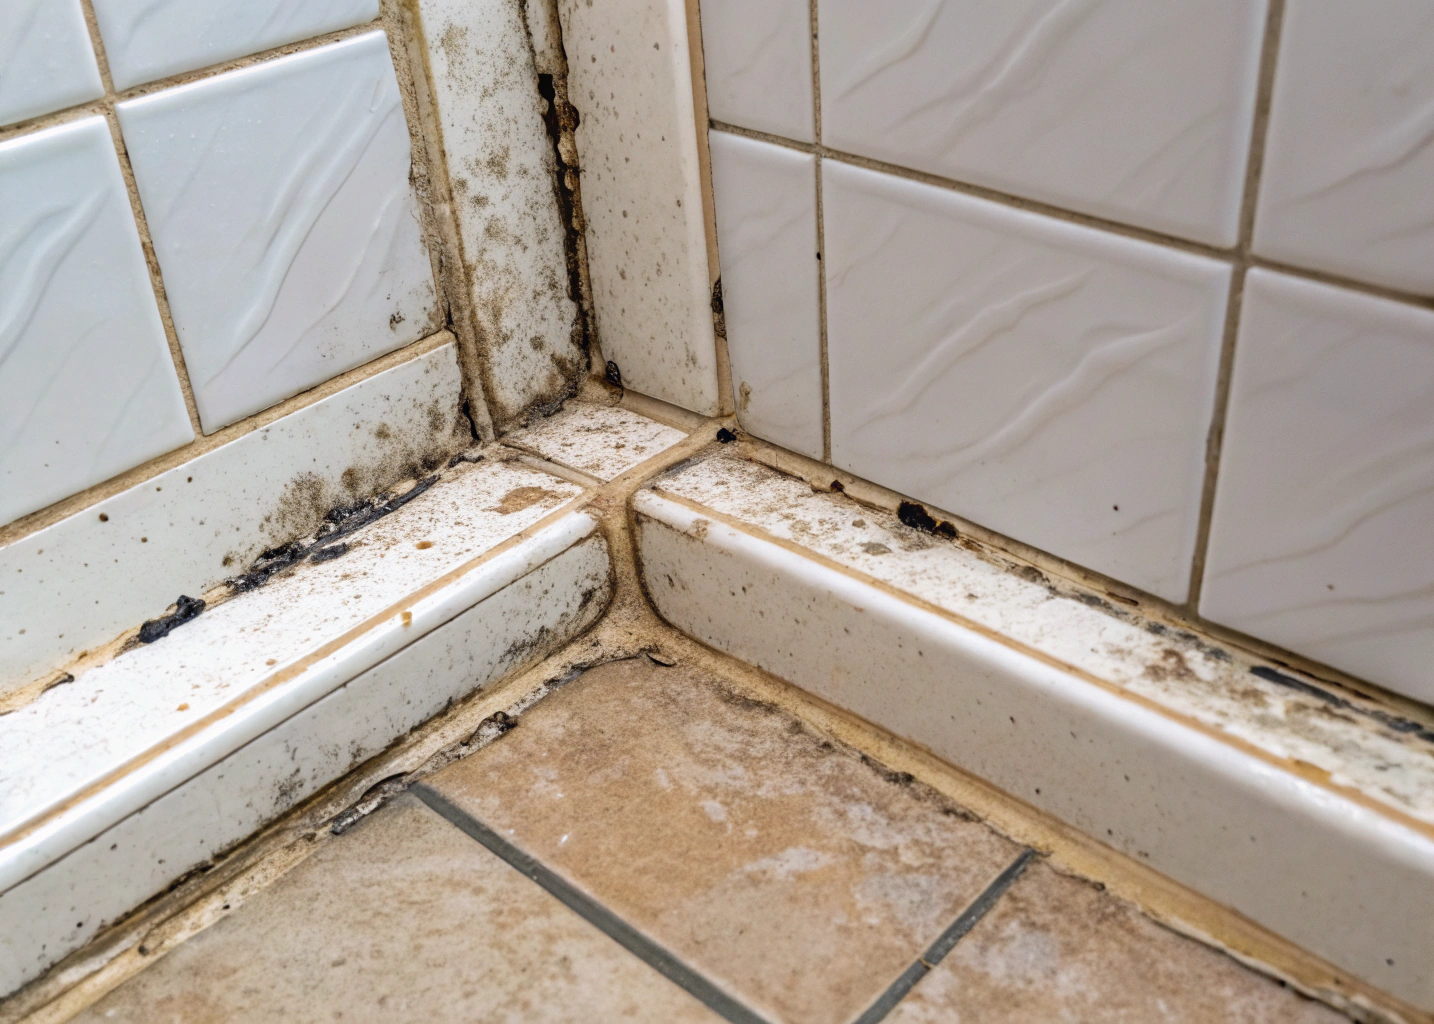
- Visual inspection — we map ceiling stains, damp walls, soft flooring, and mould growth to identify where the leak is likely coming from
- Moisture meter readings — we measure how far water has travelled through the substrate and framing
- Thermal imaging — infrared scanning shows us moisture behind walls and under floors without opening anything up
- Targeted opening — we open the lining at the confirmed source point to identify the exact failure
- Source confirmation — we confirm the cause before any repair work begins
A DIY check might find the symptom. A professional diagnostic finds the cause.

Why Water Damage Always Looks Worse in the Wrong Place
Water follows the path of least resistance through a structure — it doesn’t stay where it enters. That’s what makes water damage so consistently misleading, and why surface patching so consistently fails.
A ceiling stain below a bathroom in a Corrimal or Fairy Meadow home may be tracking from a shower recess two metres away. The water entered at the shower wall, travelled along a timber joist, and showed up at the lowest exit point — nowhere near where the failure actually is. Soft flooring beside a vanity is often caused by a waterproofing failure on the adjacent shower wall, not the vanity plumbing. The vanity looks guilty. The shower is the problem.
This is why we always identify the source before we open anything up. Patching what’s visible without finding what caused it means the same damage comes back — and it always does.
How We Diagnose the Source of a Water Leak
Visual Inspection and Damage Mapping: We start with a thorough visual inspection — ceiling stains, damp walls, soft flooring, mould growth, and efflorescence on tiles. Every finding is mapped to identify where the leak is most likely coming from before we pick up any equipment.
Moisture Meter Readings: We use moisture meters across the affected area to measure how far water has travelled through the substrate and framing. Readings taken at multiple points reveal a moisture gradient that points us back toward the source.
Thermal Imaging: Infrared scanning shows us moisture behind wall linings and under floor finishes without opening anything up. This step narrows the source location before we touch a single lining.
Targeted Opening and Source Confirmation: Once we’ve identified the source, we open the lining at that specific point. We confirm the exact failure before we start planning the repair. We never begin reinstatement until we’re certain of the cause.

Structural Drying: The Step Most Repairs Skip
Once we’ve found and stopped the leak, the affected structure has to be dried to the right moisture content before we apply any new linings, waterproofing, or tiling. This is the step where a lot of water damage repairs fall apart — not because the source wasn’t found, but because the repair moved too fast.
We use industrial dehumidifiers and drying equipment to dry the structure properly. Opening windows and waiting isn’t enough — the substrate needs to reach a confirmed moisture content level, and we measure it throughout the drying period to know when it’s ready.
The most common reason water damage comes back is a contractor who applied waterproofing or tile adhesive over substrate that wasn’t dry enough. The bond fails, the moisture keeps moving, and the same problem returns within months. We don’t move to the next stage until the structure is dry. Full stop.
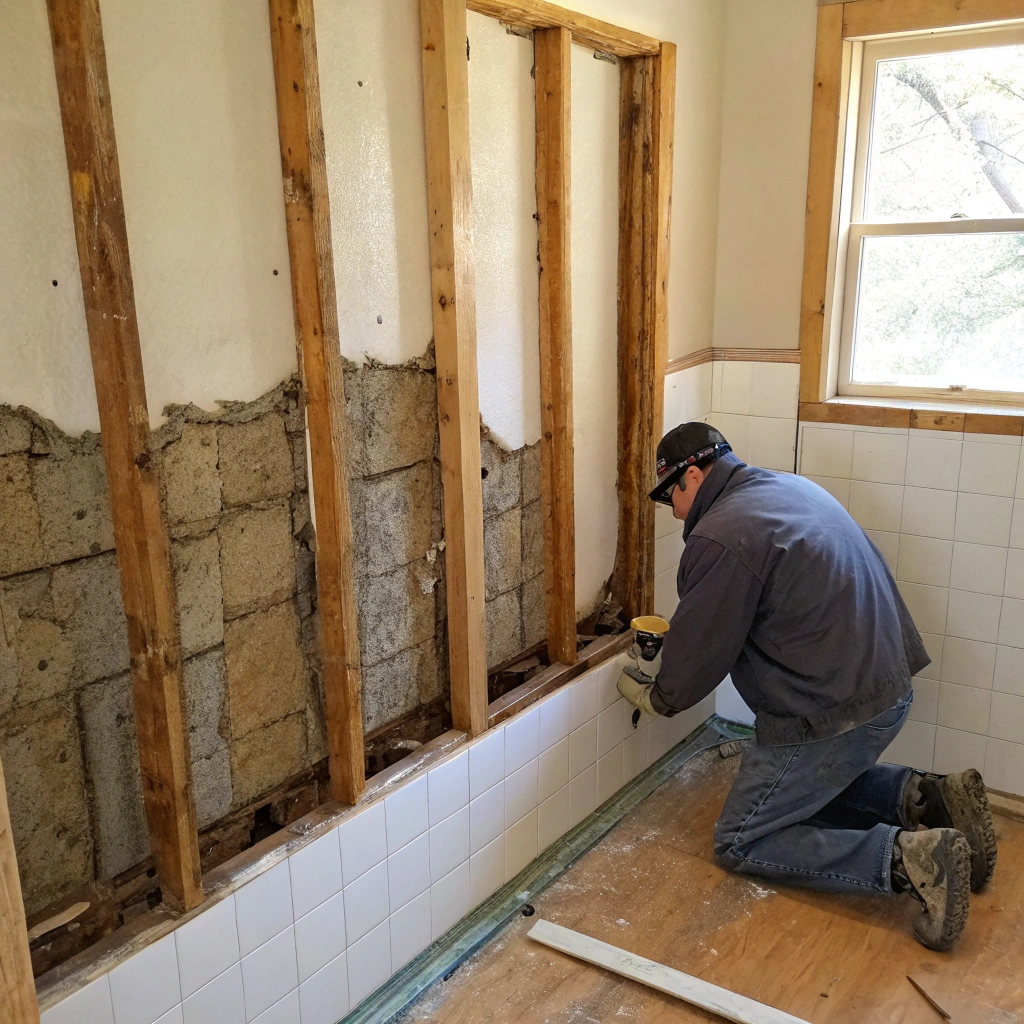
What’s Actually Behind the Wall When We Open It Up
Timber Framing Damage
When the linings come off, the framing tells the real story of how long water has been moving. Rotted or soft framing members are a common finding in Illawarra homes built between the 1960s and 1980s, where original waterproofing was minimal or absent. Affected timbers are sistered or replaced — not dried in place and built over.
Wall and Floor Lining Damage
Plasterboard and fibre cement sheet that has absorbed moisture is removed and replaced — not dried and reused. Swollen or delaminated particleboard subfloor is a common finding in wet area failures and must be fully replaced before new floor finishes go down.
Mould Remediation
Mould found in wall cavities and subfloor spaces is remediated before new linings go in. Enclosing active mould growth behind new linings is not something we do — it keeps growing, affects air quality, and comes back through the new linings within months.
The Reinstatement Sequence — From Lining to Waterproofing to Tile
Every stage is confirmed complete before the next one starts. Here’s the sequence we follow on every water damage repair:
- New wall and floor linings installed to the required substrate standard
- Waterproofing membrane applied to AS 3740 across the repaired wet area — including all junctions, penetrations, and corners
- Membrane inspection and cure period observed before tiling begins
- Tiling and grouting completed — matched to the existing installation where achievable
- Screen, fixture, and fitting reinstatement
- Final water test and inspection before sign-off
The sequence is not negotiable. Rushing any stage is how the same problem comes back.
Water Damage and Insurance Claims: What Wollongong Homeowners Need to Know
Water damage from a sudden wet area failure is frequently an insurable event under a standard home and contents policy. Gradual deterioration is treated differently by most insurers. We’re not insurance advisors, but we’ve worked through enough claims to know what the documentation process looks like.
| What insurers typically need | What we provide |
|---|---|
| Written scope of works | Detailed scope prepared on every job |
| Photographic evidence of damage | Photos taken at every stage of opening up |
| Itemised repair estimate | Line-by-line cost breakdown |
| Confirmation of leak source | Written diagnostic findings |
| Licensed tradesperson sign-off | Licensed waterproofers on every job |
| Repair methodology documentation | Written account of materials and standards applied |
Having a licensed tradesperson manage the documentation reduces claim delays and disputes.
How We Make Sure It Doesn't Happen Again
A completed repair from us isn’t a patch — it’s a protected reinstatement with a clear record of what was done and why.
At handover, we give every homeowner a written assessment covering what caused the original failure, what we did to fix it, and what to keep an eye on going forward. We include the membrane specification — the type used, the standard it was applied to, and the expected serviceable life of the reinstatement work.
We also cover maintenance: grout condition, silicone seal integrity, and the early warning signs that a wet area needs attention before damage has a chance to reoccur.
A water damage repair that addresses the cause and reinstates to compliance is the only repair that genuinely protects your home. That’s the standard we work to on every job.
Frequently Asked Questions
The most common signs are brown ceiling stains, a damp or musty smell, soft or springy flooring near wet areas, and mould appearing on walls that aren’t directly exposed to moisture. If you’re seeing any of these, there’s a good chance water has been moving through your structure for some time.
It depends on the extent of the damage, but most repairs take between five and ten working days. Structural drying alone can take two to four days before we can apply any new linings or waterproofing. We give you a clear timeline before we start.
In most cases, no. Once we open up the affected area and begin drying, the wet area is out of use until reinstatement is complete. We work as efficiently as possible to minimise disruption.
Sudden and unforeseen wet area failures are frequently covered under standard home and contents policies. Gradual deterioration — a slow leak that’s been present for a long time — is usually treated differently. We recommend contacting your insurer early and we can provide the documentation they need to assess your claim.
We support you through the documentation process. We provide a written scope of works, photographic evidence taken at every stage, and an itemised cost estimate in the format most insurers require.
The most common causes are a failed waterproofing membrane, deteriorated silicone seals, cracked grout, or a plumbing joint failure. In older Illawarra homes, the original waterproofing was often minimal — meaning the membrane has simply reached the end of its serviceable life.
We find the source, dry the structure to the required moisture content, replace all damaged materials, and apply a new waterproofing membrane to AS 3740 before any tiling goes down. At handover we give you a written record of what was done and what to monitor going forward.
Get Your Water Damage Assessed Today — Free, No Obligation
Water damage doesn’t wait — and the longer water moves through your home’s structure, the more it costs to fix. Whether you’ve spotted a ceiling stain, soft flooring, or a damp smell you can’t explain, we’re here to find out what’s causing it.
We offer free on-site damage assessments across Wollongong, Fairy Meadow, Corrimal, Thirroul, Dapto, and Shellharbour. Call Bathroom Renovations Wollongong today — no obligation, no guesswork, just a straight answer on what’s going on and what it takes to fix it properly.
📞 0240036408
Book Your Free Assessment